


That's a mouthful huh?
Today we are having a ward (church group) dinner.
The dinner will be provided, but the students are supposed to supply the desserts.
I was deciding what to make... and my go-to source was Pinterest of course. (Betcha didn't know I was a poet)
I looked at my recipe folder and chose something simple to make.
I decided to go with Chocolate Chip Pudding cookies.....with a twist.
You see, the recipe calls for instant vanilla pudding...but I only had chocolate cook n' serve.
I decided to take my chances and tweak the recipe a bit. After all, I am a legit baker folks :)
I was a little nervous about how the cookies would turn out, but they were actually really good!
Good as in, take these bad boys away before I eat the whole plate.....good.
I will give you the real recipe....and then my tweaked one :)
Real Recipe
4 1/2 cups flour
2 tsp baking soda
1 1/2 cup butter (3 sticks) softened
1 1/2 cup brown sugar, packed
1/2 cup white sugar
2 (3.4 oz) pkgs. instant vanilla pudding
4 eggs, room temperature
2 tsp vanilla
4 cups add-ins (chocolate chips, peanut butter chips, candy bars, whatever the heck you want)
Makes: 8 dozen
Ummmmm 8 dozen?!
Since I am not a cast-member of "19 and Counting", I decided to half the recipe and make use of ingredients that I had.
This is what I came up with:
2 1/4 cups flour
1 tsp baking soda
3/4 cup (1 1/2 sticks) butter, softened
3/4 cup brown sugar, packed
1/4 cup white sugar
1/2 cup cook n' serve chocolate pudding
2 eggs, room temperature
1 tsp vanilla
2 cups add-ins (1 cup chocolate chips, 1 cup crushed butter-finger)
Makes: About 3 1/2 dozen because I like bigger cookies
Method for both recipes

1. Preheat oven to 350
2. Stir together flour and baking soda, and set aside.

3. In a large bowl, cream together the butter, brown sugar, and white sugar.

4. Beat in pudding mix until well-blended.

5. Stir in the eggs and vanilla

6. When smooth, slowly add in the flour mixture. Make sure it is well mixed.

7. Lastly, add in your fillers.

8. You are ready to bake!

9. Line your baking sheet with parchment paper....and place 1 '' balls...or bigger on your sheet.
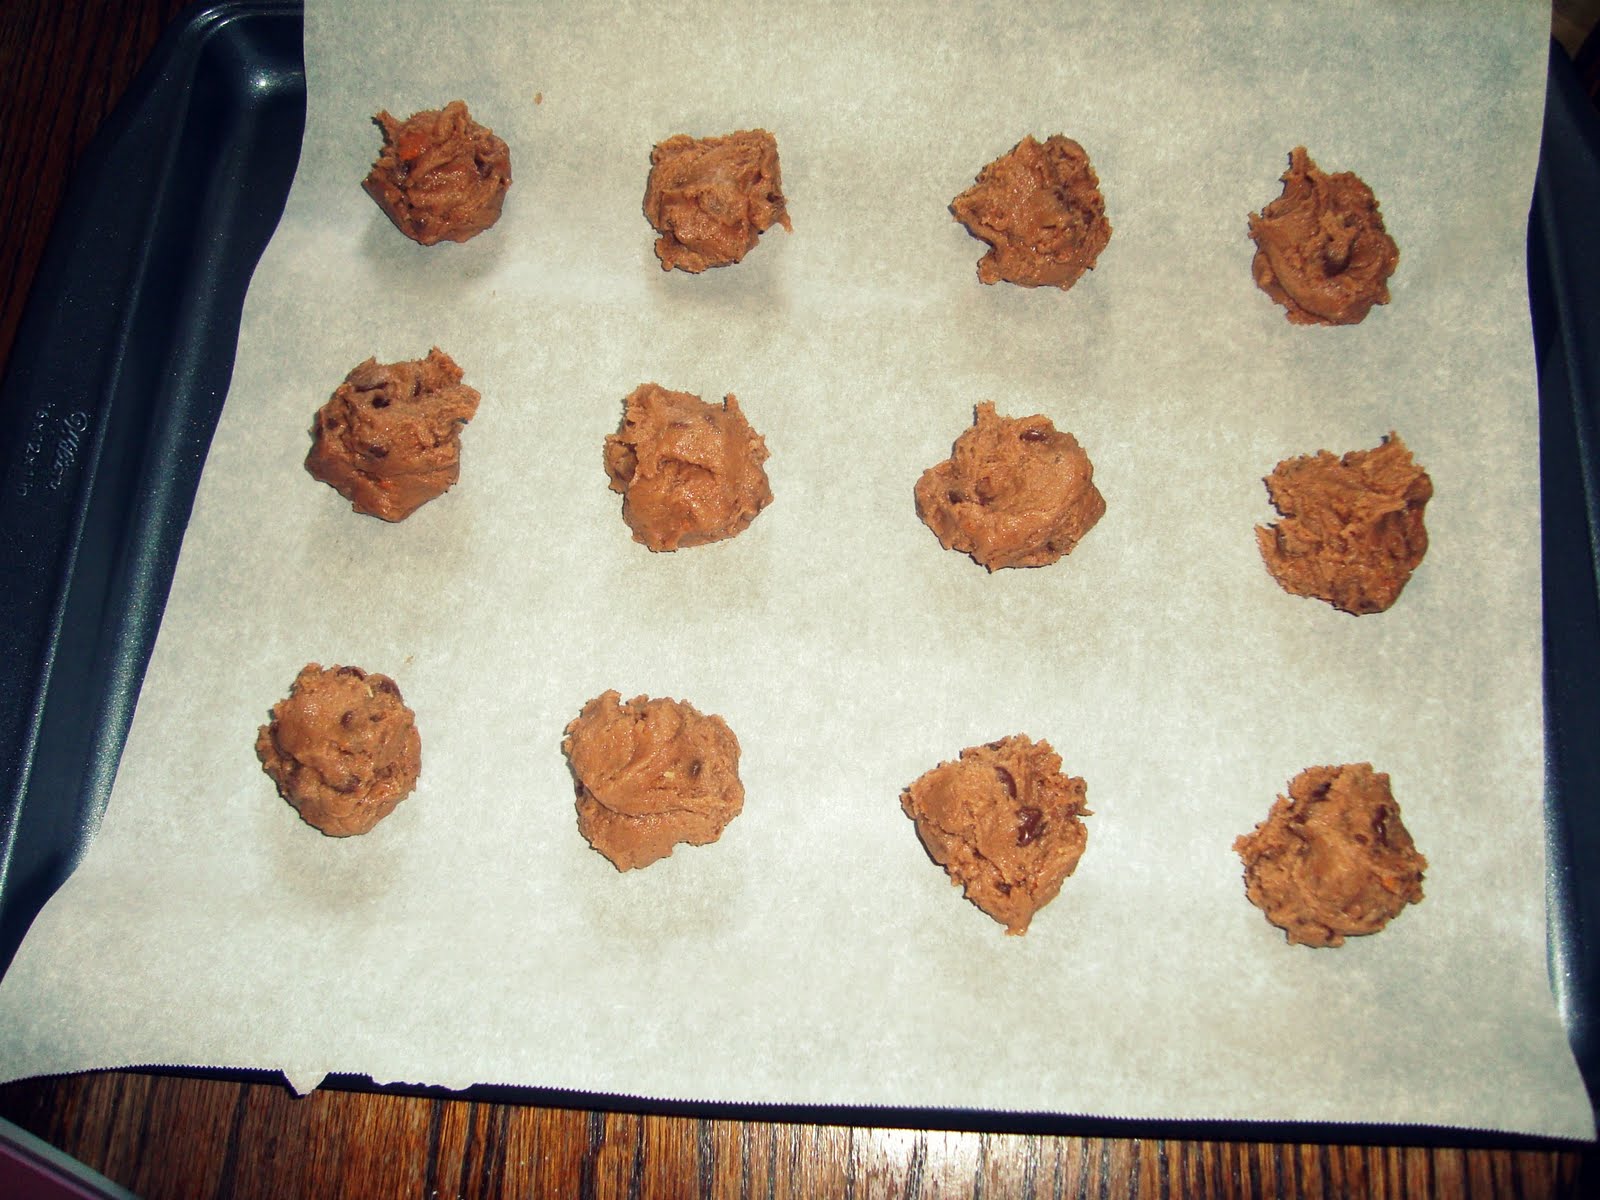
10. Bake for 8-12 minutes or until golden. I like to bake mine a little less so they are slightly doughy in the center. This way, when they harden, you get a nice chewy cookie.

Now if you're like me and hate milk, enjoy your cookies with a nice glass of cold water.
If you are weird.....I suppose you can enjoy them with milk :P

Quote of the Day

Sooo very true.
Here's my warning to you:
You will not be able to just eat one of these cookies. They may be hazardous to your waistline. Approach with extreme caution.
Happy Sunday :)

No comments:
Post a Comment